
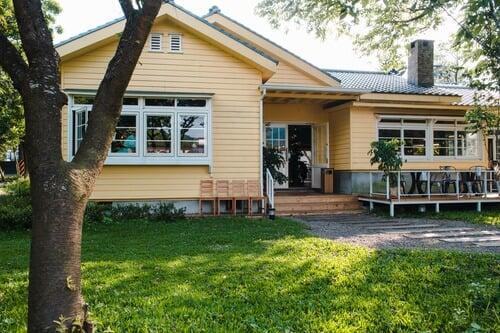
In recent years, Accessory Dwelling Units(ADUs), also known as in-law units, granny flats, or backyard homes, have become a popular housing solution across California. Whether you're planning to create a rental income stream, house a family member, or increase your property's value, building an ADU is a smart investment. But before breaking ground, you need one crucial thing: an ADU permit.
This guide provides a clear, step-by-step breakdown of the ADU permit process in California, complete with the latest updates for 2025 to help both homeowners and builders navigate the journey with confidence.
Step 1: Understand What an ADU Is and Its Types
Types of ADUs:
- Detached ADU – A standalone structure on your property.
- Attached ADU – Physically connected to your main home.
- Garage Conversion ADU – Transforming a garage into a livable space.
- Junior ADU (JADU) – A smaller unit (up to 500 sq. ft.) within the existing home.
Step 2: Check Local Zoning Laws and Ordinances
Although California state law (SB 9, SB 13, AB 68) supports ADU development statewide, each city and county can have its own zoning rules. Here's what to check:
Minimum lot size
Setback requirements
Height limits
Parking regulations
Maximum square footage allowed
Fire safety or utility access
🔍 Tip: Visit your city’s planning department website (e.g., LA, San Diego, San Jose) or call them directly to request an ADU zoning check for your property.
Step 3: Hire a Professional
Getting an ADU permit in California can be technical and time-consuming. That’s why hiring a professional—such as an ADU architect, ADU designer, permit specialist, or general contractor—is highly recommended. These experts can help you:
Prepare fully compliant plans
Navigate the permitting process more efficiently
Avoid common (and costly) mistakes
Ensure your project meets all local and state regulations
If you're looking for a reliable expert, Fortune ADU is a great resource. They specialize in helping homeowners across California get their ADUs approved and built with less hassle. Their team understands the ins and outs of local codes, streamlining the process from design to permit approval.
Step 4: Prepare Your ADU Plans
You’ll need to prepare and submit detailed drawings and documentation that comply with California building codes. These usually include:
Site plan – Showing the layout of your property and proposed ADU
Floor plan – Interior layout of the unit
Elevation drawings – Showing exterior views and heights
Structural plans – Detailing materials, load-bearing walls, etc.
Title 24 Energy Calculations – Required for energy efficiency compliance
All documents must meet the 2022 California Building Standards Code (Title 24), updated every three years (next update: 2025).
Step 5: Submit Your ADU Permit Application
Submit your application and plans to your local Building and Safety Department. Depending on your city, this can often be done online via their permit portal.
You may need to include:
Completed ADU permit application form
Full construction plans
Site surveys
Permit fees (varies by city)
Water/sewer service approval
School district impact fee forms (if over 750 sq. ft.)
Once submitted, your plans go through a plan check phase, which may take 2–8 weeks.
Step 6: Respond to Corrections (If Any)
The city may return your submission with corrections or requested changes. Don’t worry—this is a normal part of the ADU permit process.
Be ready to:
Update your drawings
Provide clarifications
Adjust your design to meet setback or code requirements
A quick turnaround on corrections can keep your ADU project on schedule.
Step 7: Pay Permit Fees
Once your plans are approved, you’ll be required to pay the ADU permit fees, which can range from $2,000 to $10,000+ depending on your project’s size, city, and complexity.
Fees typically include:
Plan check fees
Building permit fees
Impact fees (may be waived for ADUs under 750 sq. ft.)
School fees (if applicable)
Utility connection fees
Good news:
Many California cities are waiving or reducing impact fees for ADUs under state-mandated reforms.
Step 8: Start Construction
With your permit in hand, you’re ready to begin building an ADU in California. Make sure your contractor schedules required inspections throughout construction, including:
Foundation inspection
Framing and rough plumbing/electrical
Insulation and drywall
Final occupancy inspection
Skipping inspections can delay your Certificate of Occupancy.
Step 9: Final Inspection and Certificate of Occupancy
After construction is complete, schedule a final inspection. If everything passes, you’ll receive a Certificate of Occupancy (CO) from your local building department.
This document makes your ADU legal to rent out or live in.
Step 10: Consider Renting or Registering Your ADU
Once your ADU is permitted and approved, you might want to:
List it for rent (short-term or long-term, depending on city rules)
Register it as an official rental unit
Claim potential tax benefits
Update your homeowner’s insurance policy
